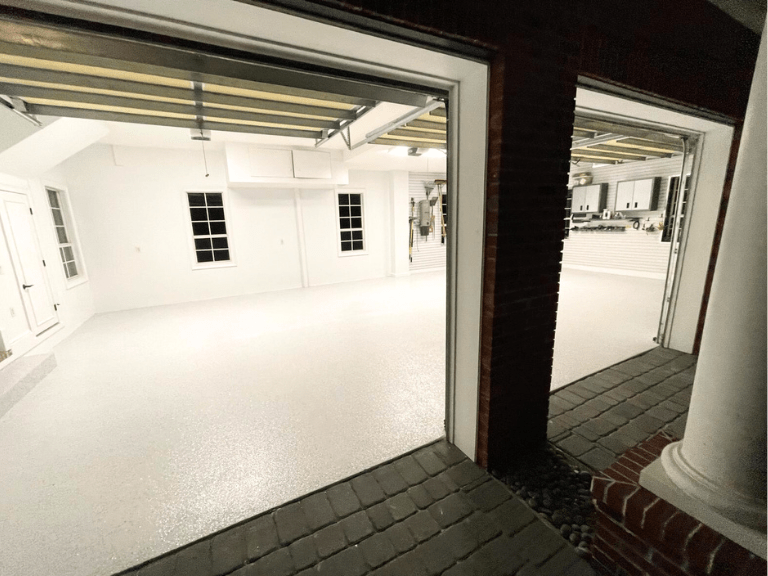
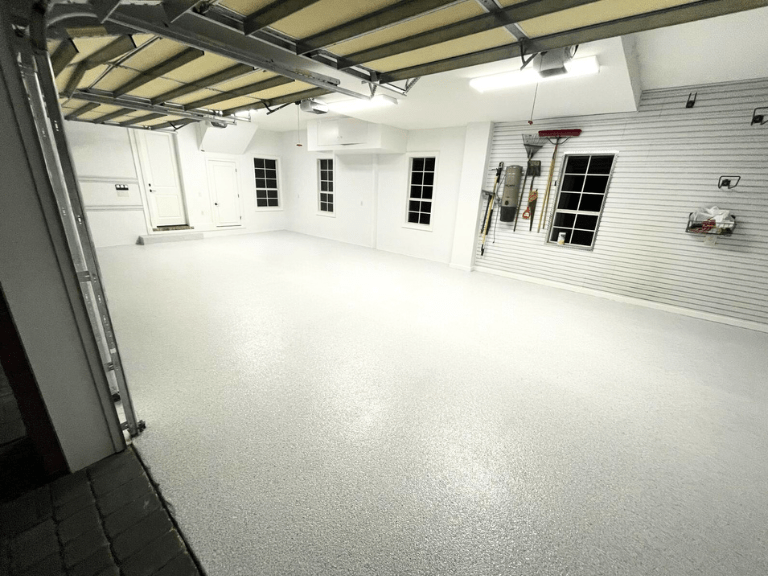
In the realm of home improvement, few projects offer as transformative a result as coating your garage floor. Not only does it enhance the aesthetic appeal of the space, but it also fortifies the surface against wear and tear.
If you’re envisioning a sleek and modern look, a custom dominant white blend combined with a white base is an excellent choice. Here’s a step-by-step guide on how we properly prep and coat a concrete floor using a dominate white blend.
Preperation
Before diving into the coating process, thorough preparation is key to achieving optimal results. The space should have already been cleared allowing us to do a preliminary sweep and clearing the area of any large debri. Next, we will assess the floor for bolts, nails and other metals that may be laying around so the area is safe to begin the grinding process.
Next, we will select the ideal high-grade diamond bond grinding plates suitable for your floor. Unlike using degreasers and acid etching solutions – the grinding process will remove dirt, oil, grease and open the pores of your concrete for a maximum bond between the surface and upper floor layers we will apply.
Repair and Patching
Our technicians inspect the garage floor for any cracks, chips, or imperfections. Fill in any cracks or divots with a suitable concrete patching compound, smoothing it out evenly with a trowel. Then we allow ample time for the patches to cure before proceeding to the next step.
Priming
With dominate white floors it is always IMPORTANT to prime the floor regardless if the concrete is pourus or not. This is because white is tricky and the concrete can absorb in some areas more than others. When this occurs you have a floor that will be more white in some areas and shades of grey in others depending on the amount of absorbtion. This where priming comes into play.
Once the floor is clean and repaired and all dust particles are removed using a mop and acetone, it’s time to apply a primer to create a strong bond between the concrete surface and the coating. Our technicians will always apply a high-quality concrete primer suitable for use with either the epoxy coatings or polyaspartic coatings.
Next, we will apply the primer with the recommended rate of coverage, spreading it with a squeegie and using a roller if needed to ensure no areas go untouched and the entire floor surface is covered. We will allow the primer to dry thoroughly before proceeding to the next step which will be your base coat.
Mixing White Pigment Into the Epoxy
Next is where we mix the white pigment with either our premium epoxy or polyaspartic material. Depending on the desired shade and intensity of the white, we will choose to add tint or pigment to achieve the perfect custom blend. Then we will mix the white pigment into the epoxy resin first. Once these two materials are mixed we will add the correct amount of hardener into the already mixed epoxy resin and pigment.
White Base Coat
Before applying the custom dominant white blend, it’s essential to lay down a white base coat to ensure uniform coverage and adhesion. Use a resin broom, we will spread the material evenly throughout the floor to ensure there coverage will be equal and there will not be thick and thin spots throughout.
Then we will use a roller to roll over the material from North to South and East to West to ensure the white base coat evenly across the entire garage floor surface. We will work in sections, overlapping each pass to avoid streaks or unevenness.
White Flake Broadcast
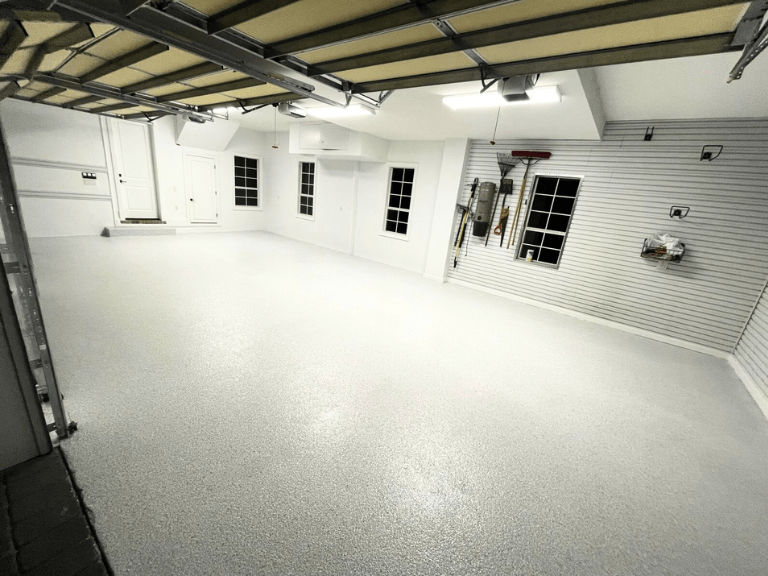
With the base coat freshly applied and still tacky, our crew will broadcast the flake onto the white base coat. Hold the container of flake approximately 12-24 inches above the floor and tossing it into the air so the flake blends falls evenly and gently into the base coat evenly. This is to achieve a uniform distribution of flakes across the entire surface.
Our technicians are trained to keep a consistent rate of flake application to achieve the desired density and coverage. It’s important to avoid dumping large quantities of flake in one spot, as this can result in uneven distribution and clumping. Instead, work methodically across each section, gradually building up the flake layer.
As we move from one section to the next, we willoverlap the broadcasting area slightly to ensure seamless coverage and prevent gaps or unevenness. Pay attention to corners, edges, and other hard-to-reach areas to ensure uniformity throughout the entire floor surface. We will periodically stop broadcasting to inspect the surface for adequate flake coverage. Look for any bare spots or areas with uneven flake distribution and adjust your broadcasting technique as needed to achieve consistent coverage.
Once the flake has been broadcasted onto the entire surface, it’s crucial to step off the surface and let it settle into the base coat for a few hours. This will ensure proper adhesion and integration of the flake with the coating system.
Preparing for Clear Top Coat
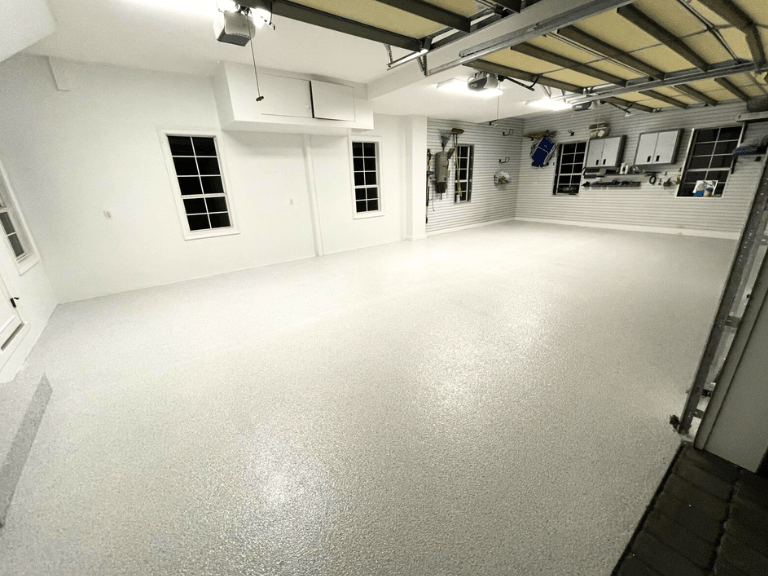
To prepare the surface for the topcoat application after broadcasting the flake, we need to carefully scrape and remove any loose or excess flakes from the surface. This process ensures a smooth and uniform finish for the final coat while also preventing any loose flakes from interfering with the adhesion of the topcoat.
Here are the steps to follow:
- Scrape the Surface: Using two specific scraper tools, we scrape the surface of the floor to remove any loose or protruding flakes. It’s important to work systematically, starting from one end of the garage and moving towards the other, ensuring thorough coverage of the entire floor area. We will cover the compass, scraping North to South and East to West, then again if necessary. We don’t want to apply too much pressure or dig into the base coat, as this can damage the underlying coating so you get the seamless look and desired finish you are looking for.
- Focus on Trouble Spots: Our crew pays close attention to areas where flakes may have clumped together or accumulated unevenly. These trouble spots are more prone to causing inconsistencies in the final finish if not properly addressed. If this occurs we will take extra care to scrape away any excess flakes and smooth out the surface as needed to achieve a uniform appearance.
- Vacuum or Sweep the Surface: Once we have scraped away the loose flakes, we use a HEPA approved vacuum and broom to remove any remaining debris from the surface. This step is essential for ensuring a clean and dust-free surface before applying the topcoat. Make sure to thoroughly vacuum or sweep the entire floor area, including corners and edges, to eliminate any loose particles that could compromise the adhesion of the topcoat.
- Inspect for Imperfections: Take a final inspection of the floor surface to identify any remaining imperfections or areas that may require additional attention. Address any visible flaws or irregularities by smoothing out the surface with a sanding block or patching compound as needed. This ensures a flawless foundation for the topcoat application, resulting in a professional-quality finish that enhances the overall appearance of your garage floor.
Clear Top Coat
After preparing the surface, applying the clear topcoat is the final step to seal and protect your newly coated garage floor.
Depending on the project and the customers desired finish, we will use a high-quality epoxy or polyurea clear coat, apply an even layer with the recommended rate of coverage over the entire surface using squeegie to spread and a roller to ensure a smooth and uniform applications. Rollers help remove any inconsistancies or lines.
Once this is compelte we will allow the topcoat to cure according to the manufacturer’s instructions, before reintroducing any items or vehicles into the garage space. Once cured, the clear topcoat will provide a durable coat which will either have texturized finish or smooth surface depending on the customer preferences. This top coat will enhance aesthetic appeal of the garage floor while providing you with long-lasting protection against stains, abrasions, and UV damage.
